Nine tumblers. That is how many I ruined in my kitchen oven before I admitted that shrink wrap and I were not going to be friends. It was November and December of 2025, I had just started printing my own sublimation sheets, and every 20 oz skinny blank I baked came out faded on one side, or ghosted in the middle, or wearing a pale seam line down the back. My husband Ray would find me at the counter peeling another failure and say nothing, which is how he says everything.
In January 2026 I bought the HTVRONT Auto Tumbler Heat Press. Ten months later it has a permanent spot on the table Ray built me in the spare bedroom, and my oven has gone back to being an oven. What follows is the process I use now, mistakes left in, because the mistakes are the part I wish someone had told me. Kids and pets stay out of the room while any press is hot, and that includes Pepper, my cat, who is convinced the craft room belongs to her.
The press that ended my oven disasters
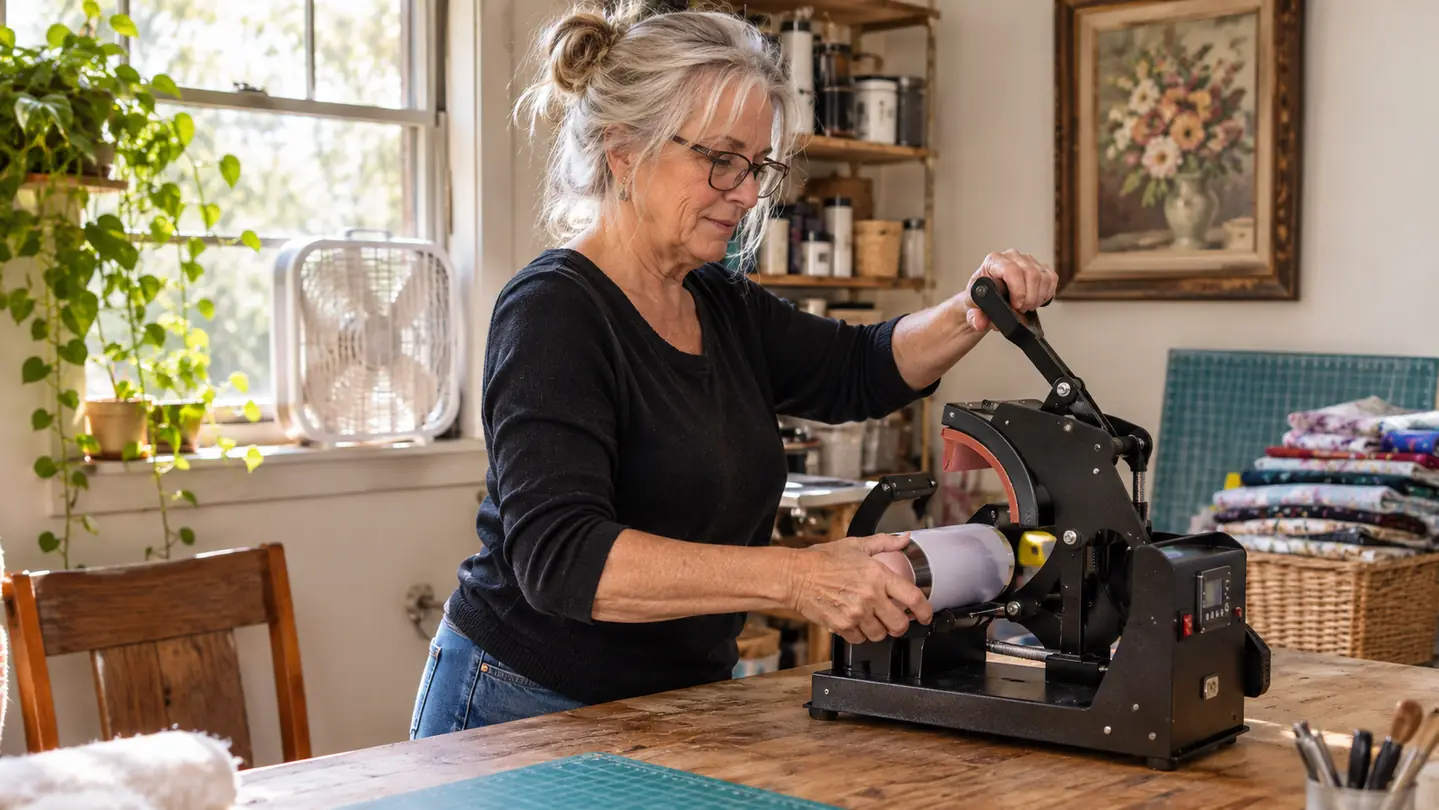
The HTVRONT Auto Tumbler Heat Press holds the tumbler and does the pressing itself with one click, so your hands are not fighting a hot shrink wrap. Ten months of steady use and mine still sits on the craft table, ready to go.
Amazon Check Today's Price on Amazon →Before You Start: What You Actually Need
None of this is fancy. On my table I keep a sublimation printer, sublimation paper cut to size, heat resistant tape, sharp scissors, a lint free cloth, and the blank itself. I use A-SUB 8.5x11 sheets because they were what I started with in October 2025 and they have behaved ever since, and I print on an Epson SureColor F170 I bought that September. Nothing here needs a print shop background. I have been doing this since January 2025 and I still keep a pencil next to the press to write down settings.
One thing worth checking before you order blanks in bulk: the HTVRONT press is built for tumblers from 2.9 inches to 3.2 inches in diameter, and from 280ml to 850ml. Most 20 oz skinny tumblers fall inside that. A pair of wider water bottles I bought on impulse do not, and they live in the closet now, unprinted and slightly resented.
The table matters more than people expect. Ray built mine six feet long and sturdy, and it sits in the spare bedroom by a window I can open, with a small box fan on the sill. I keep a heat resistant mat under the press. Whatever surface you use, it needs to hold still while the press is working, and it needs to be somewhere the fumes can leave the room.
Step 1: Pick a Blank That Fits the Press
Measure before you print anything. Not the box, not the photo on the listing, the actual tumbler, with a ruler laid across the top. The heat pad wraps around the body, and a blank outside that 2.9 to 3.2 inch window either will not seat or will not get even pressure. Uneven pressure is exactly how you end up with a design that is dark on the front and washed out at the back.
The blank also has to be coated for sublimation. Bare stainless will not take the dye, no matter how long you leave it in the press. I buy blanks sold as sublimation ready and I read the listing twice, because I have ordered the wrong finish before and did not discover it until the paper came off and the design came with it.
Then look at the shape. A tumbler with a hard taper near the base will fight the wrap, and the wrap always wins. Straight sided skinny tumblers are the ones that behave, and they are what I keep on hand for our church's fall festival and the two or three craft fairs I do each year.
If you are new to a blank, buy two or three rather than a case. Press one, live with it for a week, see how it holds up in the sink. I bought a sleeve of blanks in my first month that I now use only for practice, because the coating on them did not take ink the way the listing promised. Two or three is enough to find that out cheaply.
Step 2: Print the Wrap and Trim It Right
Sublimation prints mirror image. If your design has words on it and you forget that, you will press a perfectly crisp backwards tumbler. I did it once, with a name on it, and gave it to Ray for his shop shelf where nobody would see it.
Size the design to the printable area, not to the whole tumbler. The top rim and the bottom curve do not take a clean print, so I leave a little breathing room at both ends and trim inside my margins with sharp scissors. Ragged edges show up in the final print. That sounds obvious until you are in a hurry and telling yourself it will be fine.
Give the sheet a minute to dry before you handle it. Heavy ink coverage is still wet coming out of the printer, and a thumbprint in the wrong place is permanent. My first dozen sheets had smudges I convinced myself nobody would notice. Everybody noticed.
Step 3: Tape It Tight and Keep the Seam Straight
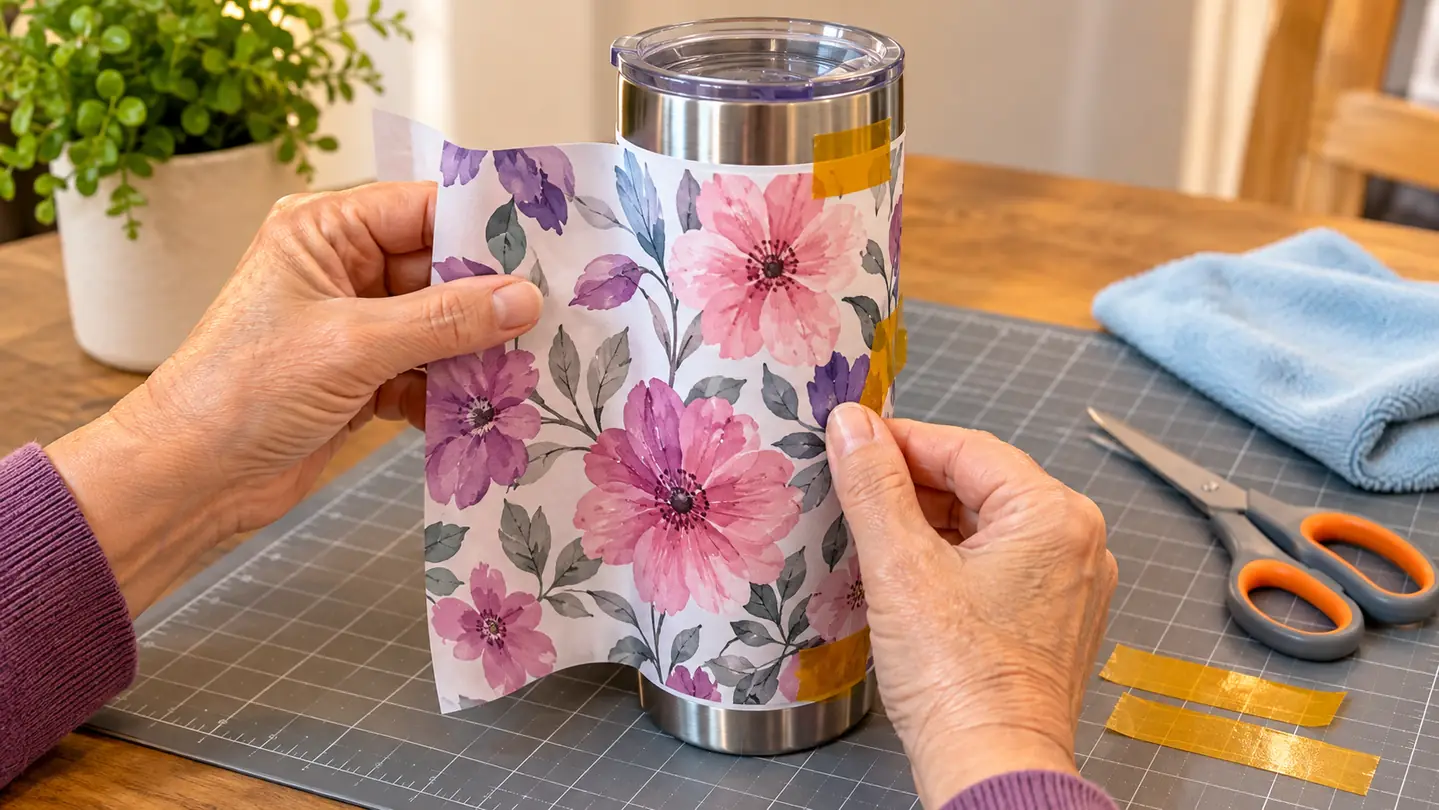
This is the step that decides the whole tumbler. Wrap the printed sheet around the blank with the design facing in, and tape it down with heat resistant tape. I start with one small piece at the top, one at the bottom, then work my way along the seam. Snug matters. Tight enough to stretch or distort the paper does not.
Keep the seam straight, and put it somewhere you will not be looking. The seam is where a line shows up if the wrap shifts a little under the pad. Mine always goes down the back. I ruined two tumblers in my first month by taping crooked and telling myself it would be fine. It was not fine, and both of them are now pen cups in Ray's garage.
Run your hand all the way around the wrap before it goes into the press. Any wrinkle you can feel will print as a crease. If it feels lumpy, pull the tape and start over with a fresh sheet. Paper is cheaper than blanks, and I wish I had believed that in December instead of learning it the slow way.
Step 4: Set the Press and Stay in the Room
Start with the time and temperature your blank maker recommends, then press one test tumbler before you commit to a batch. Every paper, ink and blank combination runs a little different. I keep an index card taped inside a cabinet door with the settings that worked for each blank I use, because I will not remember, and guessing gets expensive in blanks.
The press runs between 210 degrees Fahrenheit and 390 degrees Fahrenheit, so give it time to come up to temperature before the first tumbler goes in. Load the blank, close it up, and start it with one click. The HTVRONT does the pressing itself, which is the whole reason I bought it. Holding a wrap steady by hand for minutes at a time was never something I was good at, and I have the wobbly early tumblers to prove it.
The R button halts the heating and releases the heat pad instantly. I have used it twice, both times because I had taped something wrong and I knew it before the cycle ended. Do not leave the room while the press is hot, and never leave it running unattended. Window open, small box fan on, because the paper and the coating both put off a smell while they heat. Mason and Lily know the craft room is off limits when the press is on. Pepper knows it too, in theory.
Step 5: Peel It Warm, Then Seal It
Peel while the tumbler is still warm, in one steady motion, holding the paper flat rather than yanking it up. How warm depends on your paper, so test the first one. Peel too hot and the print can look muddy. Peel too cold and the paper grabs and takes a patch of your design with it.
Look the tumbler over before you get attached to it. Faded on one side means the wrap was not snug. A ghost of the design sitting in the background means it moved during pressing. A pale line down the back means the seam was not straight. All three are wrap problems, not press problems, and all three are fixable on the next one.
One more pass through the press is sometimes the fix for a single spot that came out light, but only if the wrap was the problem and the tumbler is still warm. If the whole design is faint, do not keep pressing it. Something upstream went wrong, and reheating a blank four times will not bring it back.
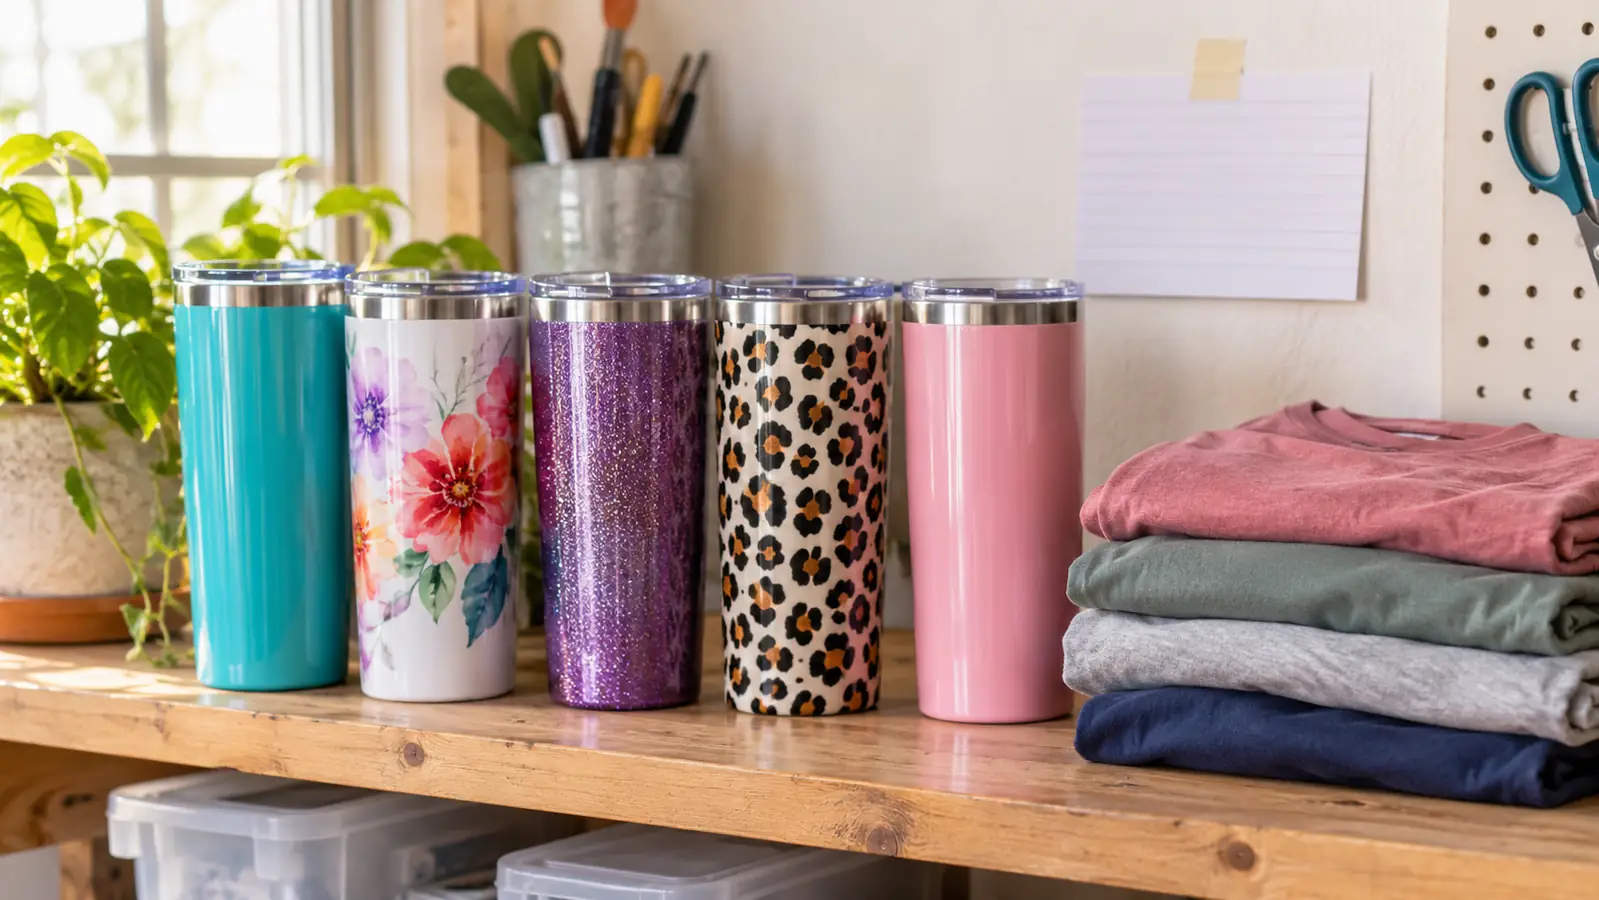
Then let it sit. I hand wash my tumblers because the dishwasher fades them over a few months, and I tell anyone I hand one to the same thing, which makes me sound like a nag and is still true. Do not stack warm tumblers on top of each other. Give them an hour to cool before they go into a box or a gift bag.
Ten months in, the only tumblers I have ruined since January were the two I rushed. The press did not make me careful. It made me consistent, and consistent turned out to be the part I was missing.
What Else Helps
Buy one extra blank and treat it as your test tumbler. Every new paper or new blank style gets pressed on that one first, and I write the result on the index card. It sounds fussy. It has saved me more blanks than any other habit I have picked up since January 2025.
Print a spare copy of each wrap. If the first one wrinkles while you are taping, you want the second one already sitting on the table instead of walking back to the printer with tape stuck to your fingers and the press warming up behind you.
Set up before you heat anything. Tape cut into strips, scissors within reach, the blank wiped down with a lint free cloth, the fan already on and the window already open. I do mugs as well as tumblers, and the days that go wrong are always the days I started pressing before the table was ready. None of this is difficult. It is a series of small things that all have to be right at the same time, and the HTVRONT took the hardest of those off my hands.
And unplug the press when you are done for the day. Not just off, unplugged. I got into that habit early, because Pepper is curious and Mason is ten, and neither of them belongs anywhere near a hot press. The craft room door stays shut when I am not in it.
If your tumblers keep coming out ghosted, start here
One click to press, and the heat pad releases the moment you hit R. This is the machine I would buy again tomorrow, and the one I point friends toward when they ask why their oven tumblers look faded.
Amazon Check Today's Price on Amazon →