
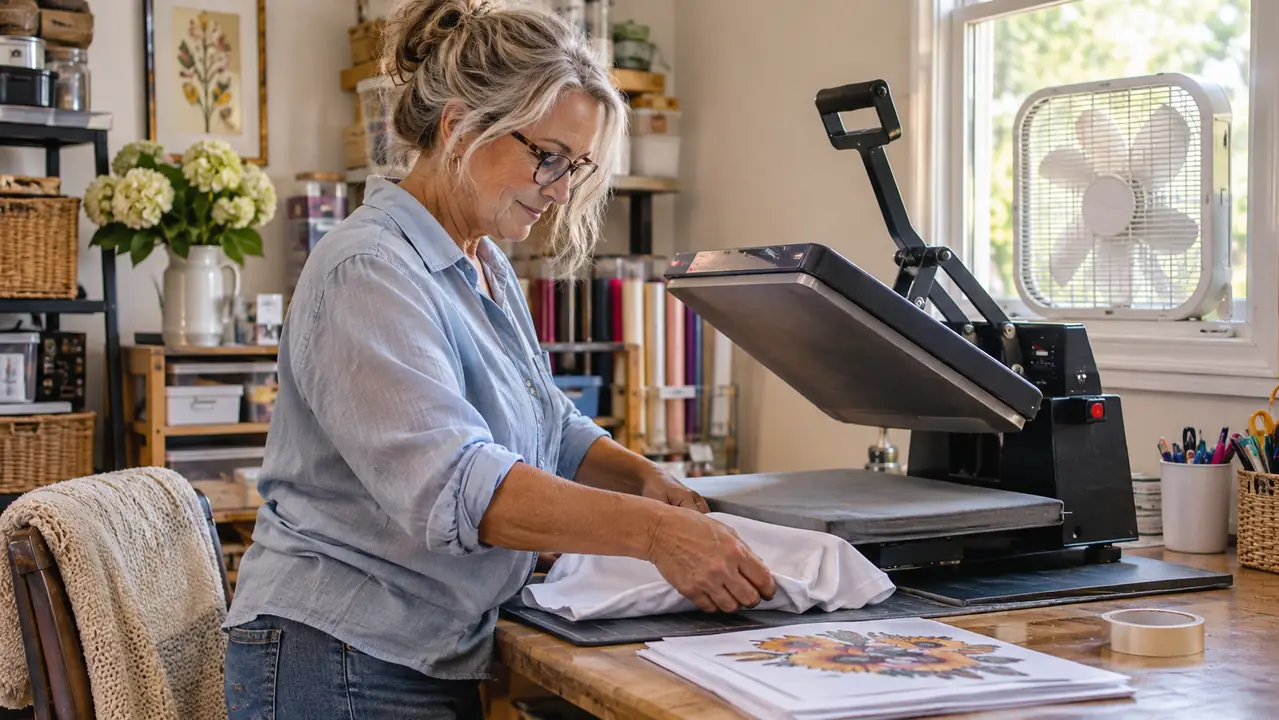
The first tumbler I ever sublimated came out with two of everything. The design landed right where I wanted it, and then a pale second copy of it drifted about a quarter inch to the left, like the ink had changed its mind halfway through. I turned the heat up and pressed it again. That made it worse. I pressed a third time and now I had three of everything, all of them soft and blurry, and one ruined tumbler in the trash.
That was November 2025, back when I was doing 20 oz skinny tumblers in my kitchen oven with shrink wrap because I did not own a tumbler press yet. I have learned a fair bit since then, most of it the hard way and most of it on blanks I paid for myself. Some came from the women in my church craft group, who have been pressing far longer than I have. Some came from shirts I was too stubborn to throw away. And a good chunk came from switching to A-SUB sublimation paper in October 2025, after a pack of no-name clearance paper from a craft store bled all over a set of mug blanks and left me with nothing to show for an afternoon. What follows is the version of this I wish somebody had sat down and told me at my own craft table.
The paper I stopped blaming for ghosting
A-SUB 8.5x11, 110 sheets, 125g coated. I have run it since October 2025 on shirts, totes, pillow covers and tumblers, and I have not gone back to anything else.
Amazon Check Today's Price on Amazon →Step 1: Dry the Blank Before the Paper Ever Touches It
Ghosting is a moisture problem more often than people think. Polyester holds humidity the way a sponge does, and a shirt that has been sitting in a garage or a humid spare bedroom will steam the second the press closes on it. That steam has to go somewhere. It goes up into the paper, lifts the sheet a hair off the fabric, and then the paper settles back down slightly off register. You never see it happen. You just see the second image and wonder what you did wrong.
My routine is simple enough. Every blank gets a few seconds face up on the press with a cover sheet over it before I print anything. I can spot the damp ones, they press out with a little puff of steam around the edges, and those get a second pass before I will lay paper on them. Finished blanks go into a dry basket in the closet, not on the floor of the craft room where my cat likes to sleep. It sounds fussy. It is a lot less fussy than reprinting.
The paper side of the same rule: my A-SUB lives in a gallon ziplock between sessions, flat, never folded over. Paper left out in an open package curls at the corners, and a curled corner is a corner that is going to shift the moment the platen comes down. In Visalia in August my craft room gets sticky enough that the sheets soften just sitting out. I close the bag the same way I close the window screen, every single time, even when I think I am coming right back.
Step 2: Tape It Down on All Four Sides
If you only fix one thing on this list, fix this one. In my experience most doubled prints are not a heat problem and they are not a paper problem. They are a sheet that moved a quarter inch while the press was closed, and the ink went along with it.
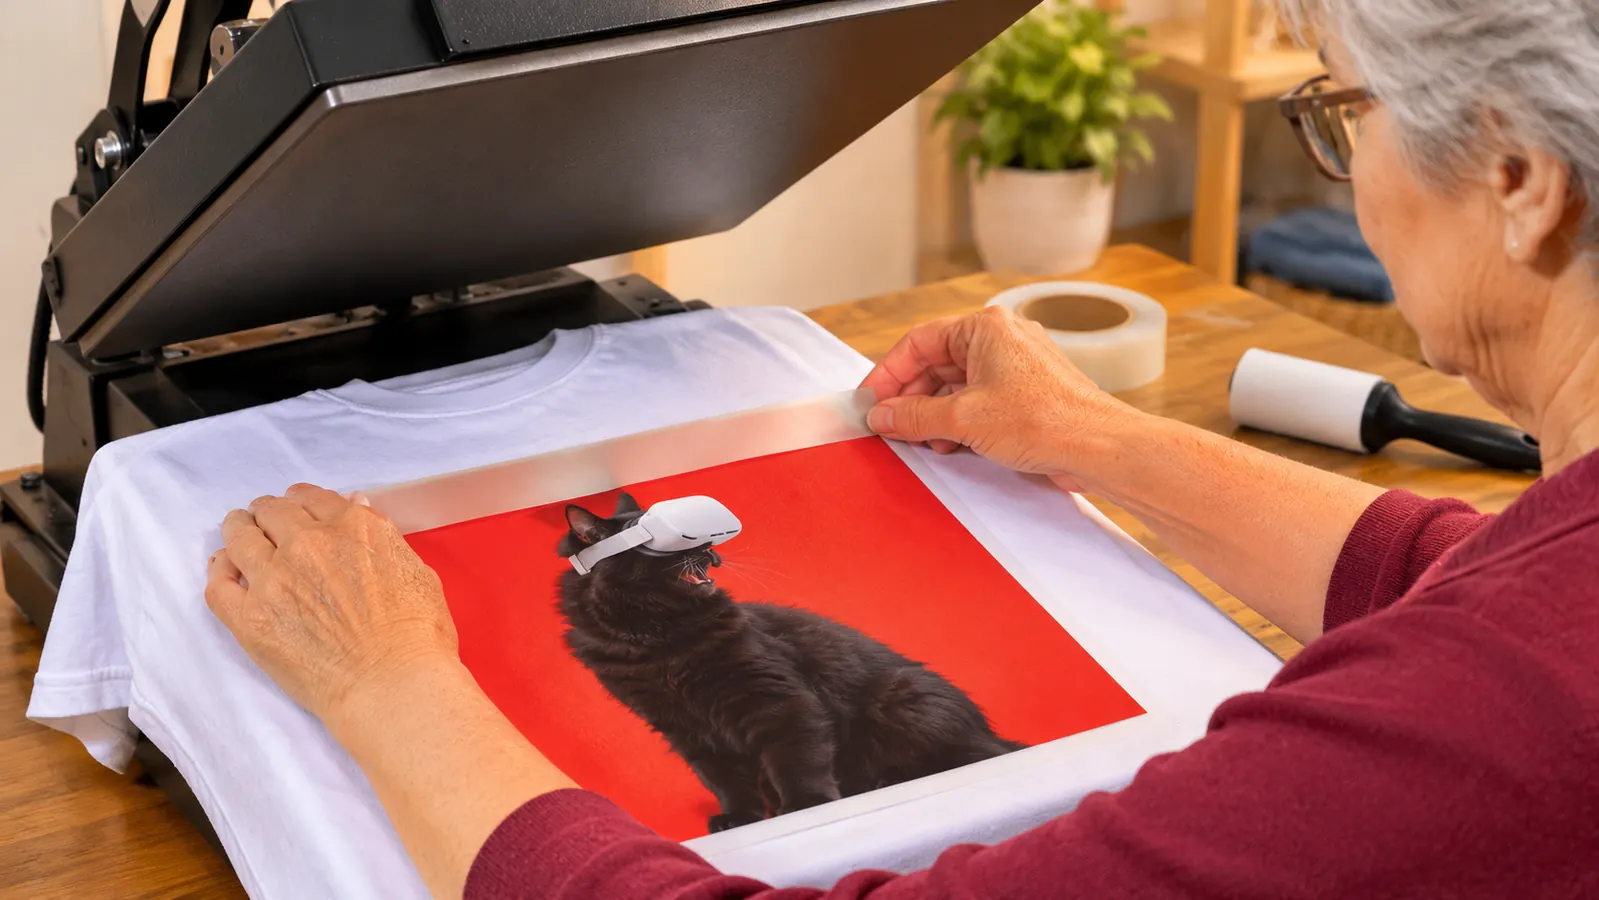
Use heat-resistant tape, the thin tan film kind sold for sublimation and for electronics work. Masking tape will leave a gum line on the shirt and it lets go once it gets hot. Ordinary clear tape is worse, it shrinks and curls and drags the paper with it as it goes. I keep a roll on the table right beside the press, and I go through more of it than I ever expected to. When Ray asks why I need another roll I tell him it is cheaper than blanks, which is the whole argument.
Here is how I tape. Lay the print face up on the blank first and eyeball the placement while you still can. Then flip the whole thing over so the paper is on top, and tape two opposite corners, then the other two. Press each strip down flat starting from the middle and working outward, so you are not trapping a wrinkle under the tape. A wrinkled corner is a corner that pulls. On tumblers I tape the leading edge where the wrap starts, because that is the edge that wants to walk once the silicone goes over it.
One habit that saved me a lot of paper: before I tape a real order, I tape and press a scrap on the same kind of blank. Same fabric, same thickness, same setting on the press. It takes four minutes and it tells me whether my pressure is where I left it. If the scrap ghosts, I have my answer and I have lost a scrap instead of a shirt with somebody's name on it.
Step 3: Set the Pressure Before You Chase the Temperature
This is the part I got wrong for a solid month. When a print came out light, I turned the heat up. When it was still light, I added time. Neither of those addresses a sheet that is not being held flat, and both of them will scorch a shirt or yellow a polyester tote long before they fix a ghost. I ruined two of Mason's practice shirts learning that.
Pressure is the setting nobody adjusts. On my Fancierstudio 15x15 clamshell there is an adjustment up on the arm, and I found my spot by closing it on a plain shirt and paying attention to how much effort the handle needed. When it takes about two fingers of push to latch, that is close. I marked the knob with a Sharpie so I can put it back after I press something thick like a pillow cover, because thick blanks want a different setting and then the next shirt is wrong until I reset it.
Too little pressure and the paper never fully contacts the fabric, so the ink transfers unevenly, and those pale patches are exactly what tempts you into a second press. Too much pressure and the sheet wrinkles under the platen, and a wrinkle is a place where the paper has already moved. Shirts get one setting in my notebook. Pillow covers get another. Totes get a third. I write all of it down on the shelf under the table because I will not remember by Thursday.
The blanks themselves matter here. A-SUB is made for white or light polyester, or a blend with cotton content of 30 percent or less, plus ceramic, tile, phone cases and metal. That cotton ceiling is not a suggestion. A heavier cotton shirt needs more pressure and more time to take the same image, and pushing a blank that was never going to take a clean transfer just produces a ghost with more conviction.
Step 4: Press Once, Lift in One Motion, Do Not Peek
The worst habit I had early on was lifting a corner to check. It feels harmless, it is a two-second thing, and it is the single most reliable way I know to create a ghost on a piece that was doing fine. The moment transferred ink touches the paper again in a slightly different spot, you have printed it twice. There is no undoing that.
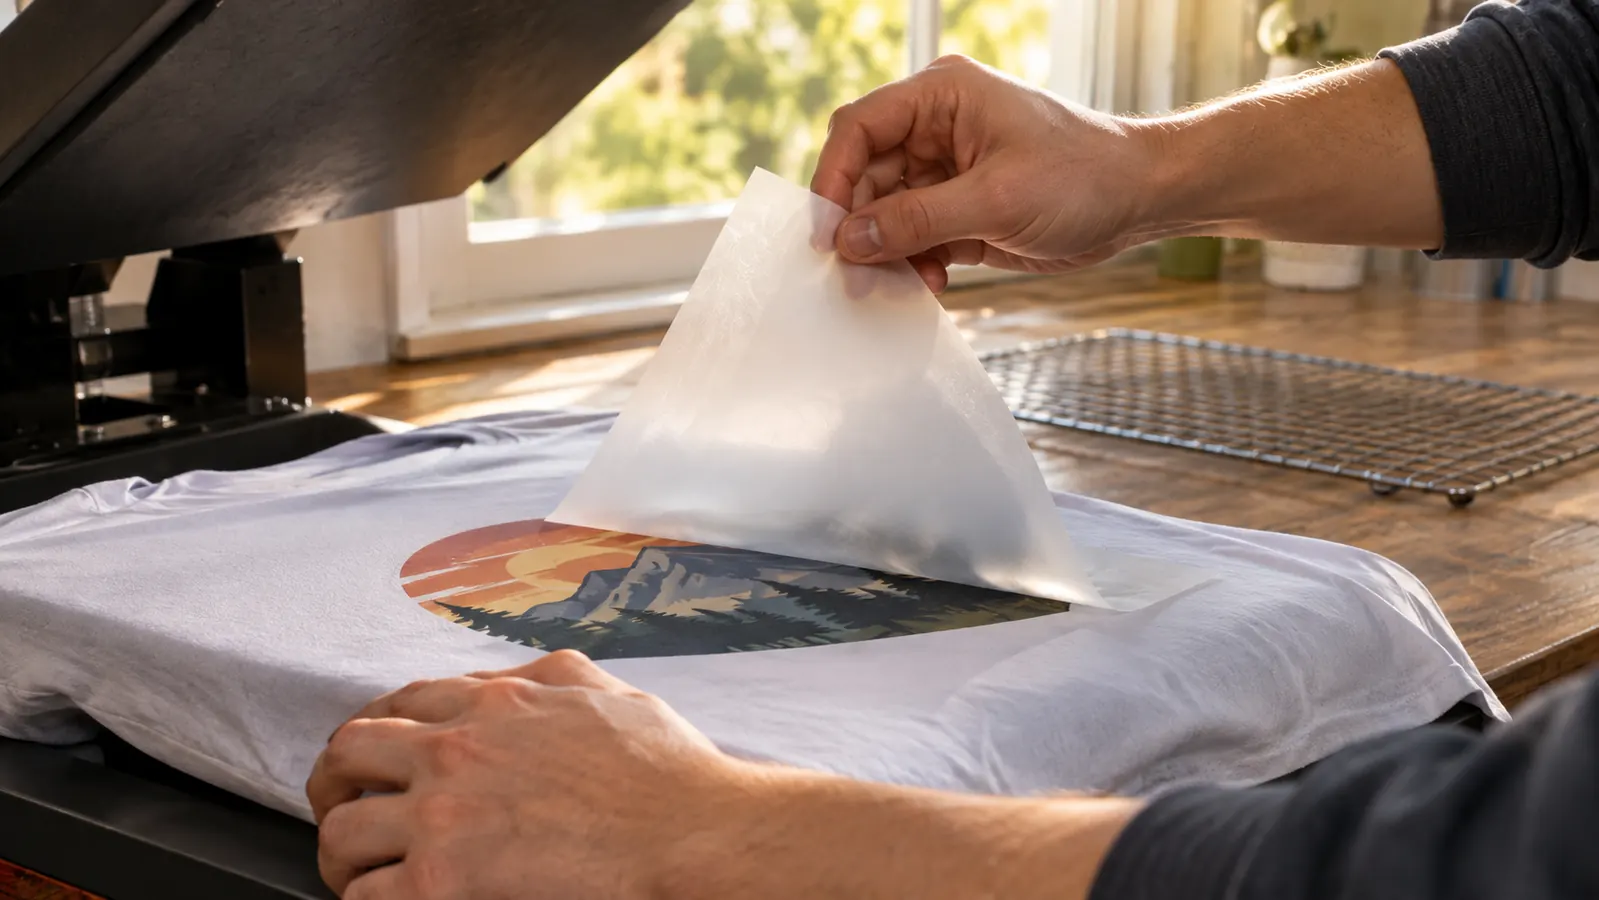
Now I set the timer and stand back with my hands off. At zero I raise the handle and pull the sheet straight up and away in one motion, then set the piece face up on the cooling rack. No folding the paper back, no dabbing at a light spot with a fingertip, no lifting the edge to see how it is coming along. If a corner lifted mid-press there is nothing to do about it at that point anyway, and looking will only make it worse.
I also do not close the press a second time on the same sheet hoping to darken an area. A second press on paper that has already released ink is the most dependable way I know to make a ghost on purpose. If it came out light, it came out light. I reprint it and I adjust the setting for the next one. That is the whole repair.
Most doubled prints are not heat and they are not paper. They are a sheet that was allowed to move a quarter inch while the press was closed.
Step 5: When It Ghosts Anyway, Reprint Instead of Re-Pressing
It still happens to me. My success rate is good now, not perfect, and anybody who tells you theirs is perfect is not counting the blanks in their trash can. The real question is what you do in the next thirty seconds, because that is where a small mistake becomes an expensive afternoon.
My rule is one attempt. If a design ghosts, I do not press it again. A second press on a ghosted piece almost always doubles the shadow or leaves a dark halo right where the first transfer sat, and on a busy or dark design there is nothing to save. I pull the sheet, let the blank cool completely, and start over with a fresh print, fresh tape and a check of the pressure setting before I close the press again. Cooling matters. A warm blank laid back on the platen has already started to move before you get the paper down.
On tumblers I had a run of ghosts in early 2026 after I got the HTVRONT auto tumbler press, and it was not the press at all. It was me, laying the wrap on and letting the leading edge lift while I fussed with the silicone. Now I tape that edge first and check it with my thumb before the press starts, and the ghosts stopped. I also keep a small notebook by the machine. Date, blank, temperature, time, pressure, whether it ghosted. It sounds like a lot. It has saved me more blanks than any single tip on this page.
What Else Helps
Ventilation is not optional and I say so every time somebody asks me about getting into this. My craft room has one window and I put a small box fan in it pulling air out of the room, not blowing back in. I open that window before the press heats up, not after I smell something. The press sits on a heat-resistant mat on the sturdy table Ray built, pushed back against the wall so nothing can slide underneath it and stay there.
Pepper gets shut out of the room whenever the press is on. She is a 6-year-old gray tabby who believes any warm flat surface is a bed, and a hot platen is not a bed. Mason and Lily are not in the room while it is hot either, and I never leave the press on and walk away, not to answer the door and not to check the oven. When I am done for the day I shut it off and let it cool down before the cover goes back on.
The small things add up. A lint roller over every shirt right before the paper goes down, because a fleck of lint under the sheet shows up as a white dot with a faint ghost ring around it. A sheet of butcher paper over the top of the print as a cover so the platen stays clean and I am not scrubbing ink off it later. Clean dry hands, since oil from your fingers on the printed side will block the ink. And a hard, flat, unmoving surface, because a folding table that flexes will throw your pressure off on every single press and you will spend all evening chasing it.
None of this makes me a print shop. I am a retired cafeteria manager pressing shirts for my grandkids and a few friends, and I still keep the trash can close. But the difference between my first month and now is not better equipment. It is drying the blank, taping the sheet down, setting the pressure, lifting in one motion, and knowing when to walk away and start over. A-SUB is the sheet I tape down every time, and the rest of it is just paying attention.
Thirteen months, one paper, a lot fewer ruined blanks
A-SUB 8.5x11, 110 sheets to a pack. It is what I tape down for shirts, totes and pillow covers, and what I tell friends in my craft group to start with. Sublimation ink only, so it will not do a thing in a regular printer.
Amazon Check Today's Price on Amazon →