
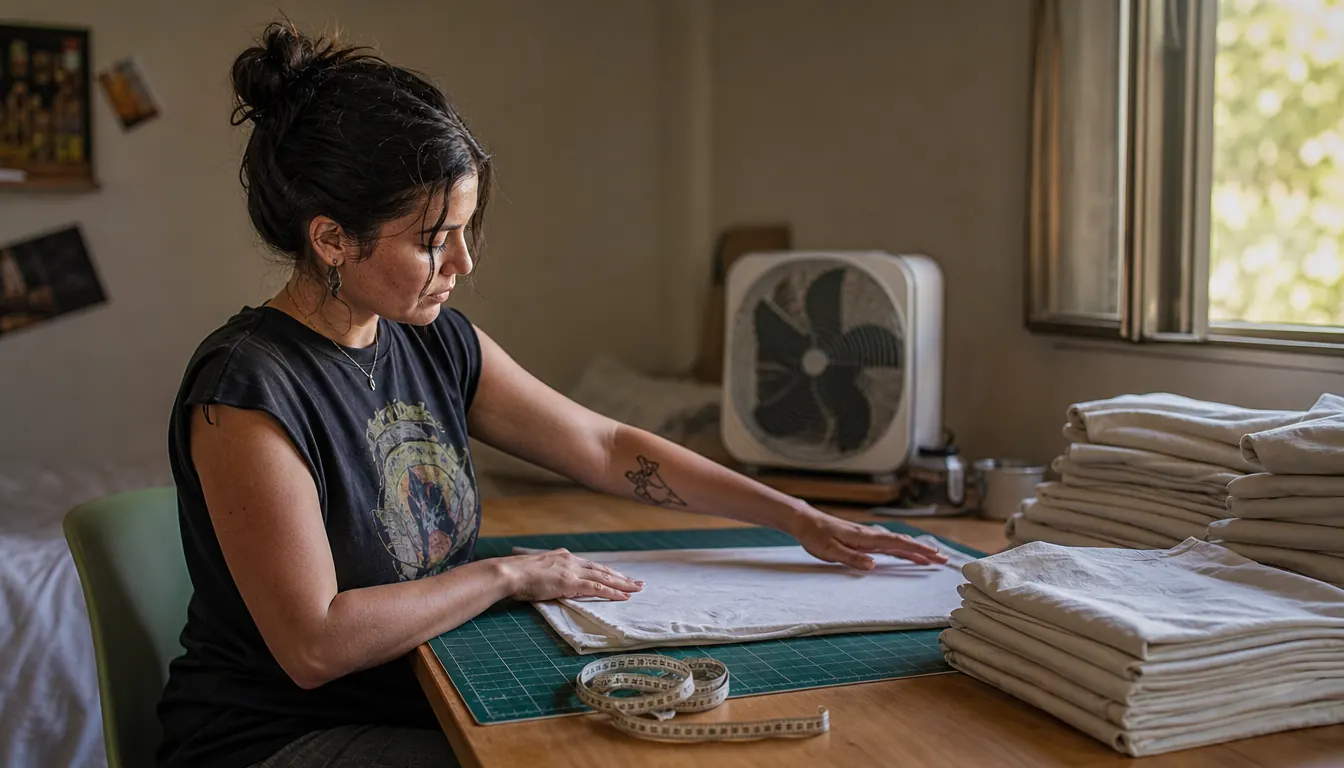
The first batch of shirts I ever made peeled in the wash. That was January 2025, and I had cut the letters out of iron-on vinyl with a pair of kitchen scissors, the kind with the orange handles that leave a groove in your thumb after twenty minutes. The shirts were for my grandson Mason's Little League team. They looked fine on the hanger and sad three washes later, with the corner of the M curling up like a dry leaf.
Here is what I wish somebody had told me at that kitchen table. Iron-on vinyl almost never fails because the vinyl is bad. It fails because the cut is ragged or the press is uneven, and my scissors managed both at once. In February 2025 I bought a Cricut Explore Air 2, and every heat transfer project in this house has gone through it since. This is the process I use now, in the order I actually do it, including the parts I got wrong first. If you have never done this before, read it through once before you touch anything, because the mistakes are cheaper to avoid than to fix.
The machine that stopped my letters from peeling
Clean edges start with a clean cut. The Cricut Explore Air 2 has been on my craft table since February 2025, and it is still the machine I reach for every time a shirt order comes up.
Amazon Check Today's Price on Amazon →Step 1: Pick a Design You Can Actually Weed
My first design on the Cricut was one word in a fat, plain font, six inches wide across the chest. That was on purpose. Thin script fonts and tiny serifs look beautiful on the screen and turn into confetti the moment you try to pull the waste vinyl away. Start with something chunky and let the machine prove itself before you ask it for lace.
Then mirror the design. Iron-on vinyl goes onto the mat face down, so if you do not flip it, the shirt reads backwards. Every beginner does this once. I did it on a tote bag for my friend Deb and gave it to her anyway, because she is a good sport, but the first letter of her name landed on the wrong side. In the app there is a mirror toggle. Find it before you cut, not after.
Size it while the shirt is still flat on the table. Measure the space between the collar and the sleeve seams with a tape measure and mark the center with a scrap of chalk, because chalk brushes off and marker does not. The mat that came in the box sets the limit on how wide you can go, so a full back print has to be scaled down or split into pieces and lined up by eye. That takes practice. My first two-piece back print looked like it had been installed by a committee.
Step 2: Put the Vinyl on the Mat Shiny Side Down
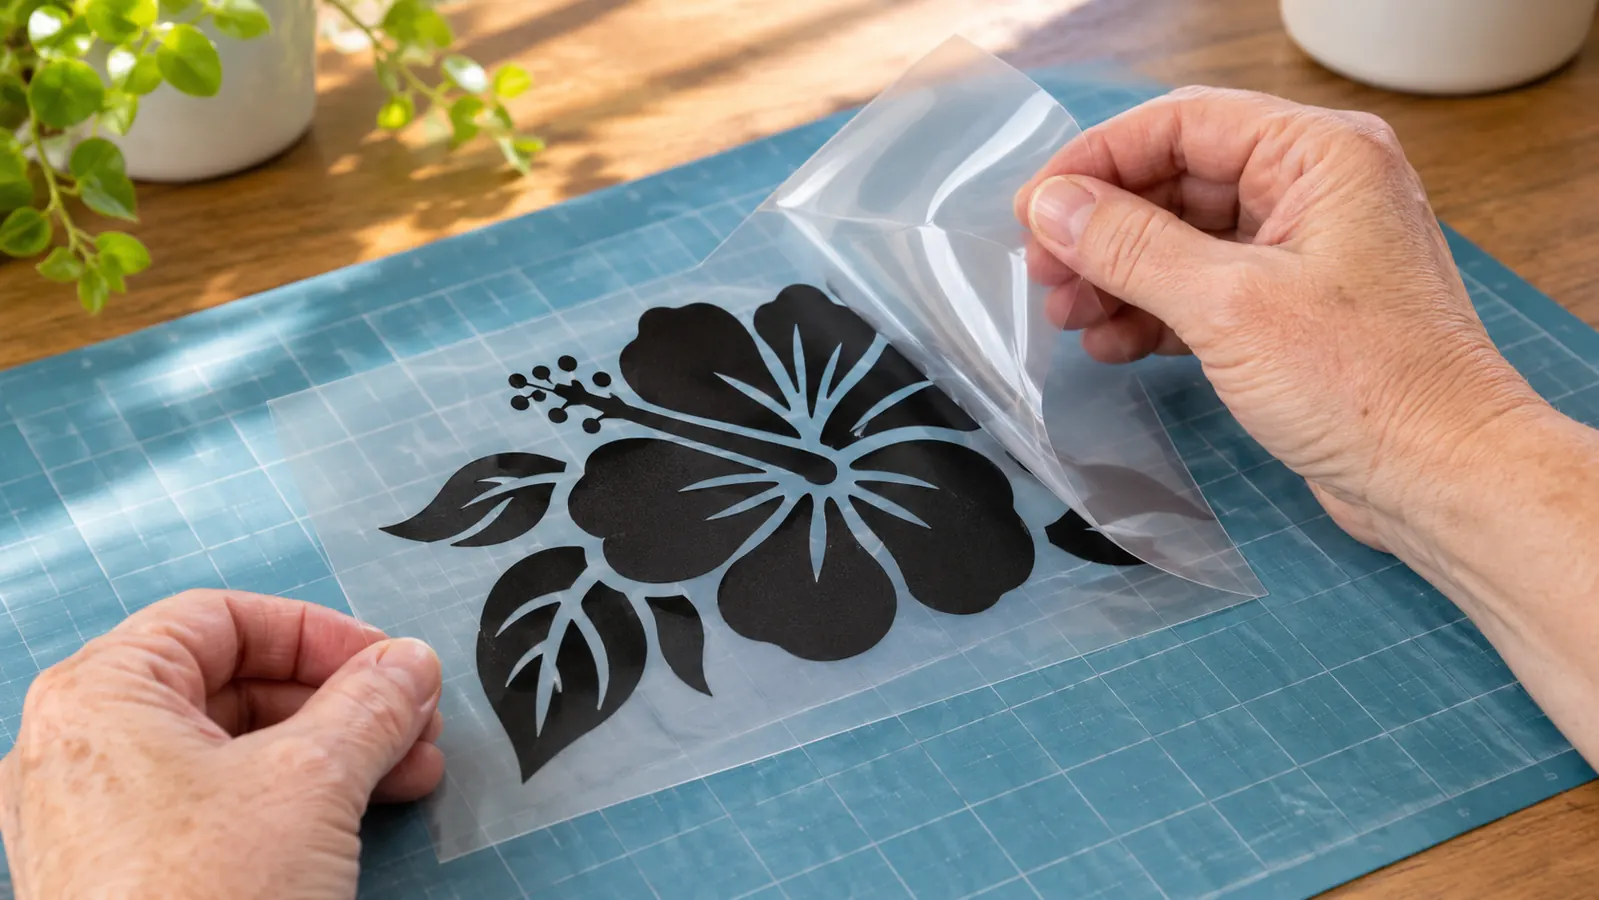
Cut a piece of vinyl a little bigger than the design, then peel it off its paper backing and lay it on the mat with the shiny carrier sheet facing down against the mat and the dull backing facing up. This is the opposite of how you load adhesive vinyl, and it is the step where people who have cut regular vinyl before get themselves confused. Shiny side down. Dull side up. Say it out loud the first few times.
Smooth it down with the scraper, working from the center out. Any bubble becomes a miscut, because the blade rides up over the bump and leaves a thin spot in the design. Press the edges down hard. If a corner lifts while the machine is running, the blade catches it and you get a tear that runs halfway through your design and takes the whole sheet with it.
Load the mat until it seats, and line the vinyl up with the guides. The Cricut talks to the app over Bluetooth, so the phone or laptop has to be close. Mine sits right on the table beside the machine. The first time I paired it I was three rooms away and could not figure out why nothing was happening, which is a very long ten minutes.
Step 3: Cut, Then Look Before You Unload
In the app, tell it you are cutting iron-on material so it uses the setting for heat transfer vinyl rather than paper or cardstock. Then press go and leave it alone. Do not lift the lid to check on it, do not nudge the mat, do not hold your breath too close. The Premium Fine-Point Blade and housing that came in the box handle this material without any swapping, which is a big part of why I never felt the need to move up to a bigger machine.
Before you unload the mat, test a corner. Lift the edge of the carrier sheet and see whether the design is cut cleanly through the vinyl and only scored on the backing. If it is tearing instead of releasing, send it through again without moving anything. Cutting twice costs you nothing but two minutes. Recutting a design you already pulled off the mat costs you the vinyl and the design.
Keep the blade housing clean. I pull the blade out every few weeks and tap the fuzz out of it over the trash can, because a dull blade gives you a cut that looks perfectly fine on the mat and weeds like a nightmare. The machine itself wipes down with a dry cloth. That is the whole maintenance routine, and it has held up through a year and a half of steady weekend use.
Step 4: Weed Slowly, and Save the Small Pieces
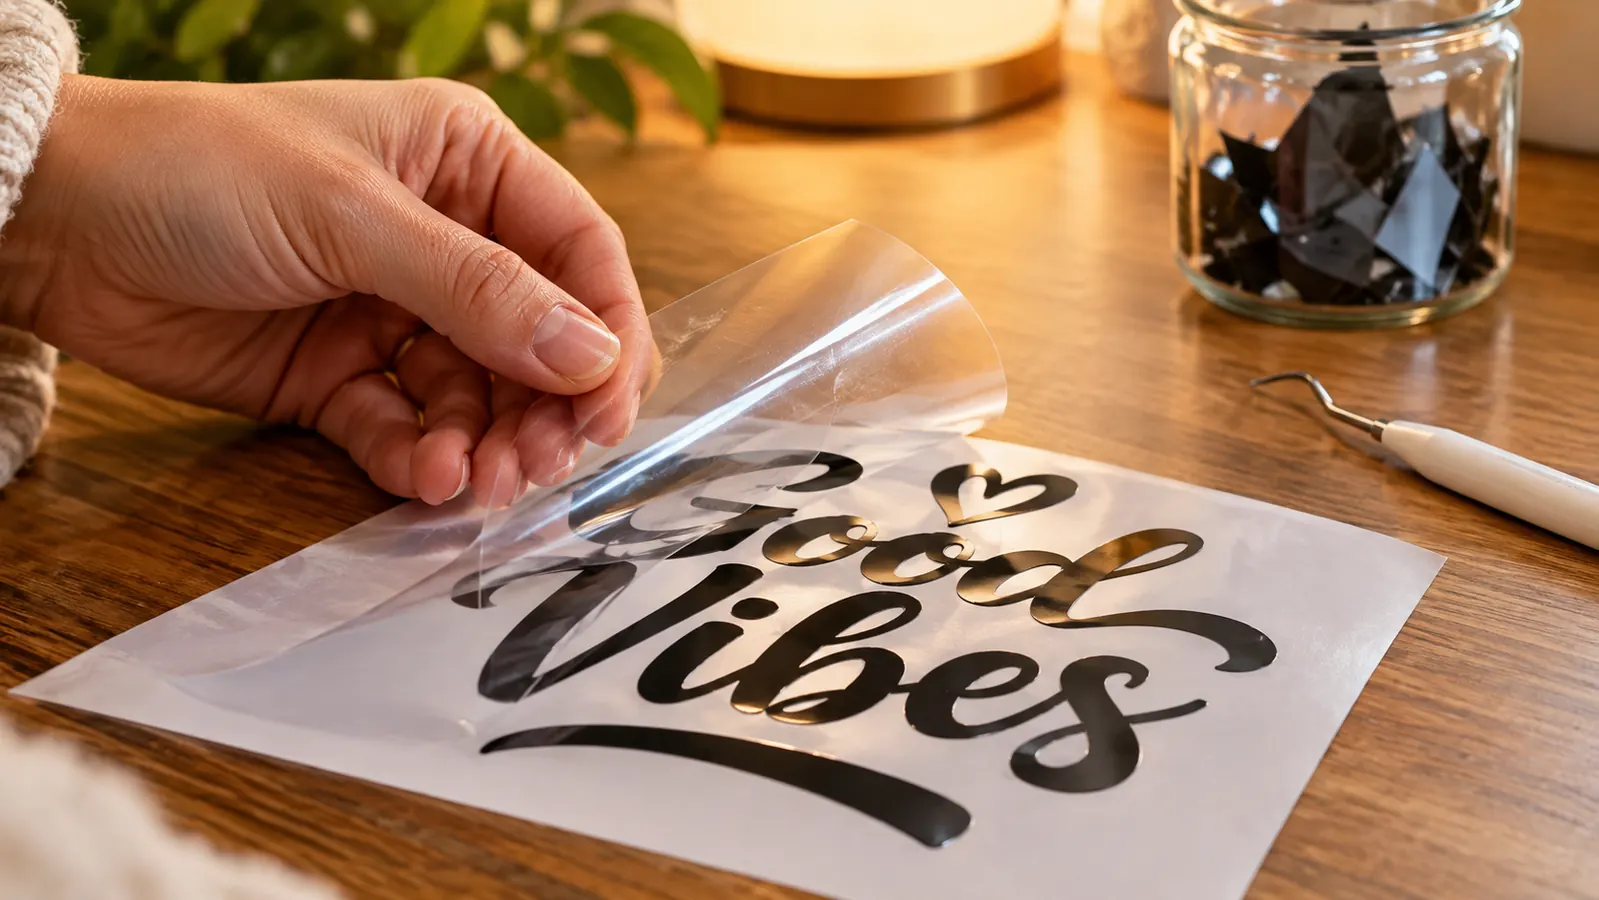
Weeding is the part nobody warns you about. You are peeling away the negative space, the vinyl you do not want, and leaving the design itself stuck to the carrier sheet. Use a weeding hook instead of your fingernails. Work in good light, keep the carrier sheet flat on the table, and go one letter at a time.
The centers of letters are where the trouble lives. The middle of an O, an A, an R, an E. Those little islands have to stay on the carrier sheet, and they will jump onto the waste vinyl if you pull too fast. Pull the waste back at a low angle, almost flat to the table, and hold the design down with one finger as you go. Slow is fast here. I have re-cut more designs out of impatience than out of bad settings.
Keep the waste in a glass jar on the table. Small scraps are what you use for a monogram on a pocket or a name across a tote bag, and that jar has saved me a trip to the store more than once. Pepper the cat gets shut out of the craft room for this whole process, because a six year old tabby and a sheet of sticky vinyl are a bad combination.
Step 5: Press It Hot, and Peel the Way the Roll Tells You
Set the shirt on the heat press platen. Mine is a clamshell that lives on the sturdy six foot table my husband Ray built, sitting on a heat resistant mat. Lint roll the shirt first, both sides if it is brand new. A single bit of lint trapped under the design becomes a permanent bubble, and I have the shirts in the back of the closet to prove it.
Give the shirt a couple of seconds of preheat to pull the moisture out, place the design carrier sheet up, and close the press. Use the temperature and time printed on the vinyl roll, then run a test on an old pillowcase before you commit to a good shirt. Every brand of iron-on is a little different and guessing costs you a blank. Write the settings that worked on a note taped inside the press, because you will not remember in six months.
Peeling is where the vinyl brands disagree with each other. Some want a hot peel, straight off the press while it is still warm. Some want it to cool completely first. The roll will tell you, and the roll is right. If you peel a cold peel vinyl while it is hot, the edges stretch and you get a wavy outline that never lays flat again.
Give it a second press. Lay the carrier sheet back over the design, or a cover sheet if the carrier is gone, close the press for a few seconds, and it settles the edges down into the fabric. Then wash inside out, cold, no fabric softener, and hang it or tumble low. My first shirts did not die on the press. They died in a hot dryer.
Two safety things before you walk away. Open the window and run a small box fan, because hot vinyl and a hot platen both smell and a closed spare bedroom gets ripe fast. Keep kids and pets out of the room while the press is hot, and never leave it on and unattended. I unplug mine when I am finished, every single time, even when I am sure I am coming right back.
What Else Helps
A real heat press made a bigger difference than any other purchase in this room. From January to April 2025 I pressed with a household iron on a folded towel, and the pressure was never even. One edge of the design would be welded down and the other would lift in the first wash. A clamshell press applies the same pressure across the whole platen, and the peeling stopped almost entirely after that.
The other small things matter more than they sound. A lint roller within arm's reach. A cover sheet. A decent task lamp directly over the table so you can see the cut edges. A stack of cheap blank shirts to practice on, and the discipline to practice on the blanks and not on the good shirt. If you want the longer version of how this machine has held up, my notes on the Cricut Explore Air 2 after all this time cover the wear and the day to day. If you are still choosing between models, the comparison of the Explore Air 2 against the smaller Joy Xtra lays out the size difference plainly. And if you are thinking about where this all leads, the reasons a cutting machine pairs so well with a heat press are the same ones that got me off the iron.
One more thing that helped and cost nothing. The women in my church craft group trade settings and failures every month. Somebody always has a shirt that peeled and a theory about why. Half the fixes in this article came out of that circle of folding chairs, not out of a manual.
A shirt that peels is almost never the vinyl's fault. It is a ragged cut or an uneven press, and both of those are fixable.
Start with the cut. The press can wait a month.
If I were starting over from that January with the scissors, I would buy the Cricut Explore Air 2 first and press with an iron for a few weeks while I saved for the rest. Clean cuts are the half of this you can fix today.
Amazon Check Today's Price on Amazon →