
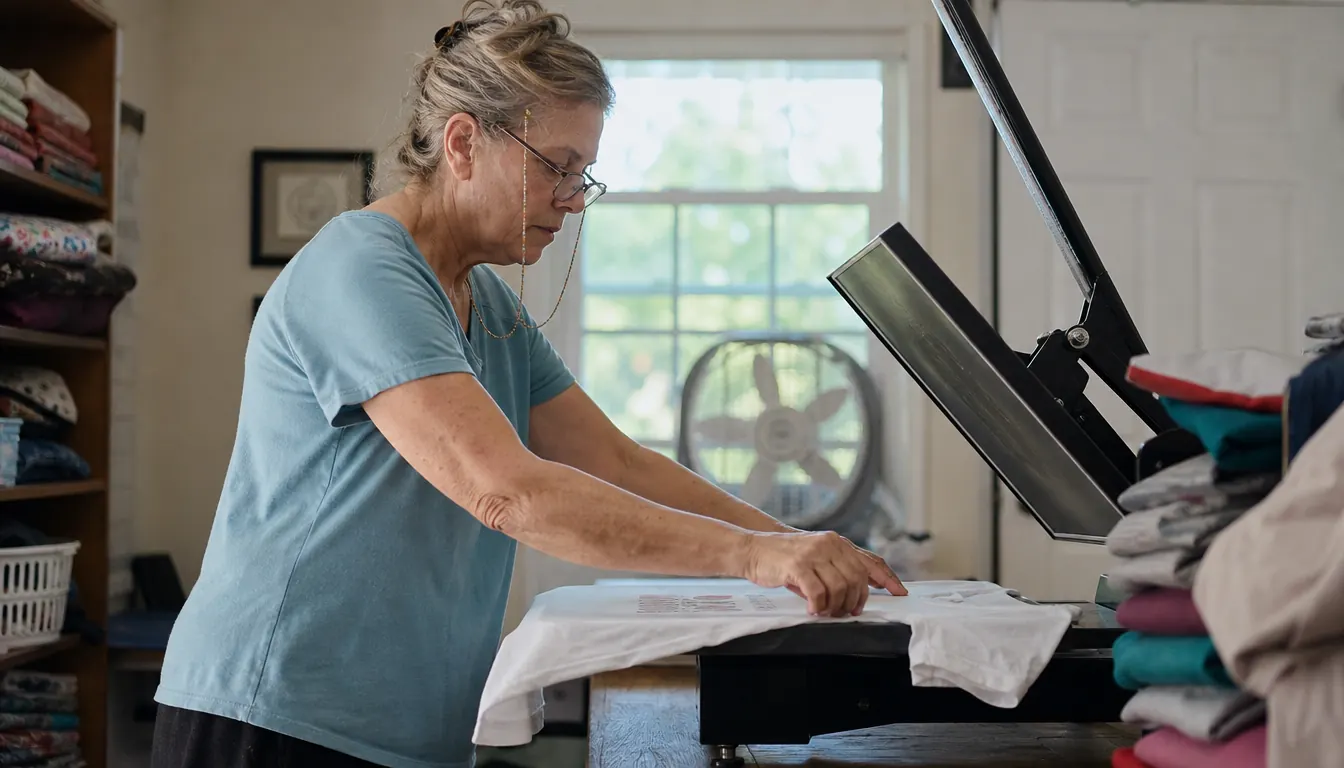
The first custom shirts I ever made came apart in the wash. It was January 2025, my grandson Mason needed shirts for his Little League team, and I cut iron-on letters out by hand with scissors and pressed them down with the same household iron I had used on Ray's work shirts for thirty years. On the kitchen table they looked fine. Two washes later the corners were curling up like old wallpaper and my hands ached from the scissors. That is the whole reason I bought a real press.
I bought the Fancierstudio 15 x 15 in April 2025. It sits on the six-foot table my husband built in our spare bedroom, and it has been there about nineteen months now. I am not a print shop and I am not going to pretend to be one. I press shirts for Mason and Lily, for our church's fall festival, for friends, and for two or three craft fairs a year. But I have made every mistake in this guide at least once, including the scorched one, and this is the order that finally worked.
The press that replaced my iron and has not moved off the table in nineteen months
Fancierstudio 15 x 15 digital clamshell, 1800 watts, electronic time and heat control, and a platen with a Teflon coating. It is the machine this whole guide is written around.
Amazon Check Today's Price on Amazon →Step 1: Give the Press Its Own Corner, Its Own Outlet, and Some Air
Measure before you buy anything. The Fancierstudio is 33 inches long, 23 inches wide and 20 inches high, and it takes up most of the depth of Ray's table at the back of the spare bedroom. You still need clear space on both sides, one side for a stack of blanks and one side to lay a hot shirt down. A heat-resistant mat under the base protects the tabletop, and a table that wobbles is not good enough. Every press needs firm, flat ground under it.
Then deal with the air. I open the bedroom window before I turn the machine on and set a small box fan in the corner pulling air toward it. Vinyl and sublimation both give off fumes when they get hot, and a closed bedroom with the door shut will tell you so within twenty minutes. Pepper, our six-year-old gray tabby, is shut out of that room any time the press is hot, and Mason and Lily are not allowed to touch it at all. I never leave it on and walk away, not even to answer the phone. When I am finished I turn it off and unplug it. Those three rules are not optional and they are not about being fussy.
Find out what else is on the circuit before you plug in. This machine pulls 1800 watts at 110 volts. I gave it its own wall outlet and I keep the fan and the lamp on a different one, and I stopped running the space heater in that room in January because the two of them together were too much for one circuit. If a breaker trips the first time you use it, that is what happened.
Step 2: Set the Temperature and the Time Before You Load Anything
The control panel is the easy part. It has electronic time and heat control, and you set the temperature and the timer separately. The temperature range goes from 0 to 699 degrees, and the timer goes from 0 to 999 seconds, which is far more time than any shirt needs. I set the temperature first and give the platen five or six minutes to come up to it, then I set the time. Setting both at once and slapping a shirt in while the platen is still climbing is how I got my first half-cured shirt.
For numbers, start with whatever the maker of your blank recommends and then run a test on a scrap. On plain cotton with the iron-on vinyl I cut on my Cricut, I land somewhere in the low 300s for 10 to 15 seconds. Sublimation on a polyester shirt runs hotter and longer, and I test every new blank before I commit a real design to it. The listing rates the upper temperature at 500 degrees. I have never needed to go past about 400, and if a project is asking for more than that I stop and reread the instructions, because something is wrong.
My first month I pressed everything at one setting because I was nervous about the machine and did not want to think about it. That is how a shirt gets a shiny scorch mark on the shoulder that no amount of peeling will fix. Write your settings down. I keep an index card taped inside the cabinet door with the temperatures and times that worked for each kind of blank, and it has saved me more shirts than any gadget I own.
Step 3: Prepress the Shirt, Then Load It Straight
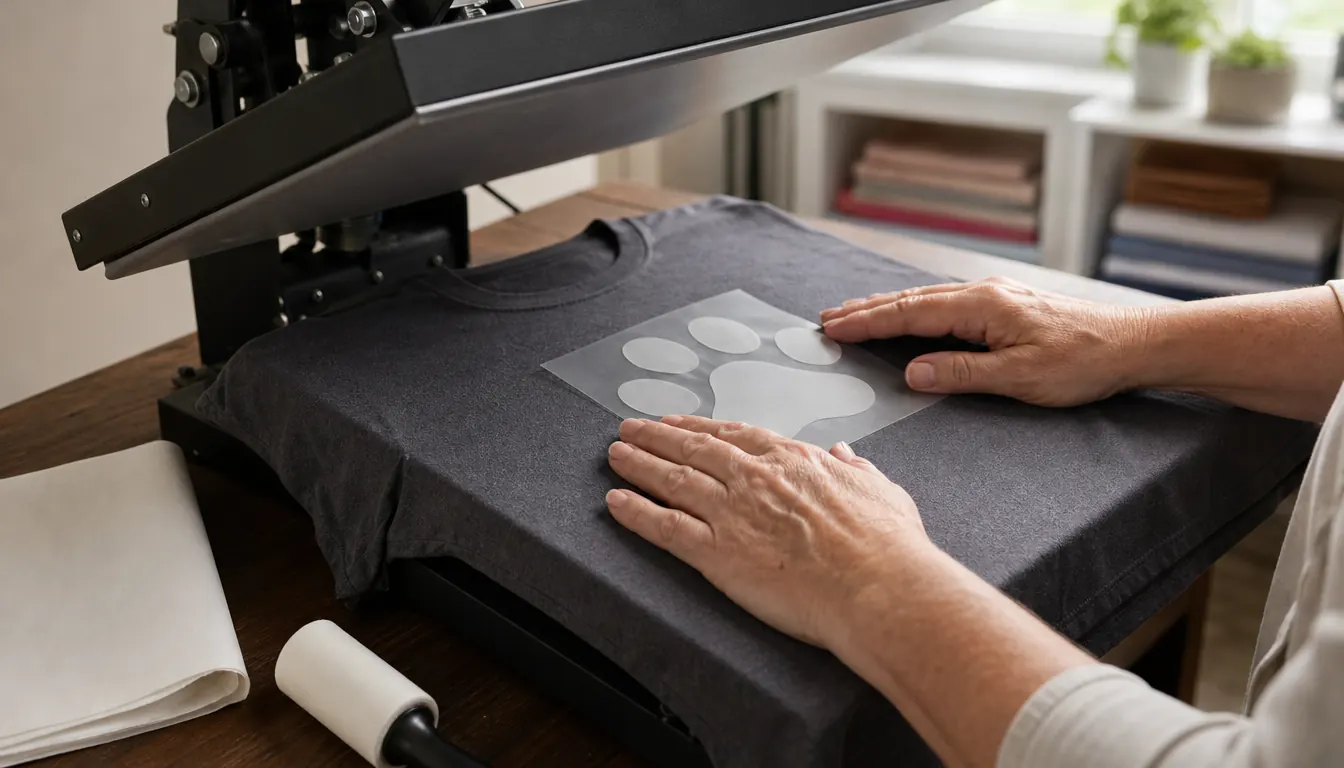
Before the design goes anywhere near it, the shirt gets five seconds of empty pressing. Close the platen on the bare shirt for five seconds, open it, and let the steam out. Fabric holds moisture from the closet and from the air, and trapped moisture is what makes a transfer lift at the edges three weeks later. After the prepress I run a lint roller over the whole front panel. A single stray fiber under a vinyl letter shows forever.
Now line it up. I lay the shirt on the lower platen with the collar toward me and the front panel flat, and I check the side seams against the edge of the platen so the shirt is not rotated a half inch to the left. Center the design by eye first, then measure if it matters, and hold it in place with a strip of heat tape at the top edge. Tape is quicker than pins and it does not leave a mark. Smooth the shirt down from the collar to the hem with the flat of your hand. Any wrinkle under the design becomes a wrinkle in the vinyl.
The platen on the Fancierstudio has a Teflon coating on it, which helps keep melted adhesive from sticking to the metal. I still lay a heat-resistant sheet over the design every single time. It costs me nothing, it protects the platen from a stray edge of vinyl, and it means I am never scrubbing a hot surface with a cloth.
Mason's first team shirt, pressed in April 2025, has been through two full Little League seasons and more washes than I can count, and the letters are still on it. That is the only test result that ever mattered to me.
Step 4: Close It, Wait the Full Time, and Do Not Peek
Close the top down and leave it alone for the whole count. Not a peek at eight seconds to see how it is doing. Lifting the platen early on a warm peel transfer gives you a design that looks finished and fails in the laundry, and lifting it early on a cold peel one gives you vinyl stretched out of shape. The timer on this machine counts down and I trust it. Stand there and wait.
Pressure is the part nobody explains well, so here is how I check mine. Press one scrap shirt with the setting you plan to use, then look at the transfer. If the edges of the letters are faint or the vinyl looks grainy and unsealed, you do not have enough pressure, and the design will flake. If the shirt comes out with a flattened, shiny patch around the design, you are pressing too hard. You want firm, even contact across the whole 15 by 15 area, with the shirt flat and taut underneath. I check this again any time I switch to a thicker blank, because a heavy cotton towel and a thin performance shirt do not want the same thing.
One press cycle is enough for most of my shirts. If a design has a dense block of vinyl, or the shirt is thick, I press a second shorter cycle rather than one long one. Long single presses are how I scorched a tote bag in my second month and had to turn it into a shop rag.
Step 5: Peel, Cool, and Wash-Test Before You Call It Done
Peel temperature depends on the vinyl, so read the roll. Most of what I use wants a warm peel, which means I count to about ten after the platen opens and then pull the carrier sheet back slowly and low, at a sharp angle, not straight up. Some specialty films want a cold peel, and pulling those warm ruins them. If a corner of the design lifts with the carrier, lay the sheet back down and press it again for five seconds. That trick has rescued plenty of my shirts.
Lay the finished shirt flat somewhere it can cool without anything on top of it. Not folded, not hung over a chair back, and not stacked under three other shirts. Give it a full day before the first wash. Then wash it inside out in cold water and skip the fabric softener, because softener coats the fibers and works under the edges of the vinyl. I air dry most of mine. A shirt that survives that routine is a shirt I will hand to somebody.
What Else Helps
A cutter changed the amount of work I could do, not the quality of the press work. I bought a Cricut Explore Air 2 in February 2025, about twenty-one months ago, and it is what ended the scissors. It cuts the iron-on vinyl for shirts and tote bags and it cuts plain vinyl for decals. The press does not care where the vinyl came from, so if you are cutting by hand right now, keep cutting by hand and spend your money on the press first.
For sublimation I use an Epson SureColor F170, which I bought in September 2025, and A-SUB 8.5 x 11 paper, which I have been reordering since October 2025. My first few weeks with the printer I used the sample sheets and a pack of no-name clearance paper from a craft store, and that paper bled and cost me a handful of blanks. The paper matters more than I expected. I also own the HTVRONT Auto Tumbler Heat Press, bought in January 2026, because before that I was doing 20 oz tumblers in the kitchen oven with shrink wrap and several of them came out ghosted or with a seam line down one side. I still do mugs, totes and the occasional pillow cover, and I use the tumbler press for the tumblers.
The other thing that helps is practice blanks. Buy cheap shirts you do not care about and press on them until your settings, your pressure and your peel are boring to you. And keep a lint roller, a roll of heat tape and two heat-resistant sheets within arm's reach of the press, because hunting for them mid-project with a hot platen open is how people get burned.
Start with the machine, not the accessories
A cutter and a sublimation printer are wonderful. Neither one will save a shirt from a press that is set wrong. The Fancierstudio 15 x 15 is where I would begin, and it is where I did begin in April 2025.
Amazon Check Today's Price on Amazon →