
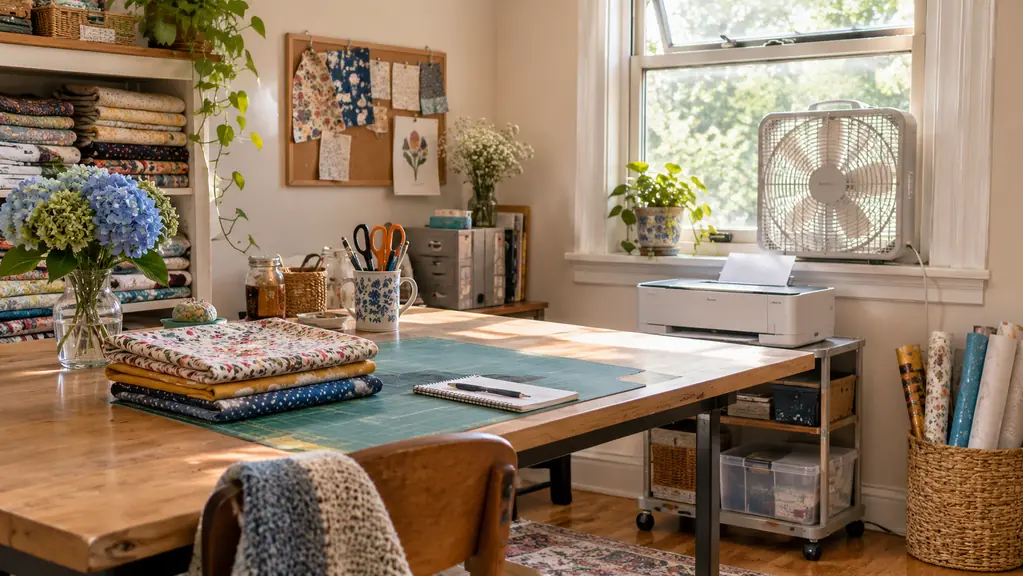
The box sat on my craft table for two days before I opened it. By then I had already scorched one shirt with a household iron, watched iron-on letters peel off Mason's team shirts after three washes, and decided that sublimation was for people with steadier hands than mine. Then I bought the Epson SureColor F170 in September 2025. The surprise was not the printing. The surprise was that setup took one afternoon, and most of that afternoon was me being careful rather than struggling. Fourteen months later the printer is still on the same little cart beside my table, and I still run it most weeks for shirts, totes, mugs and 20 oz skinny tumblers.
What follows is the setup I wish someone had walked me through at the kitchen table. Five steps, in order: choose the spot, ink the machine, load the paper correctly, connect it to your computer, then print one transfer and press it. I am not a print shop and I am not going to pretend this is a business in a box. I press for family, friends, our church fall festival and two or three local craft fairs a year. That is the whole operation, and this printer covers all of it.
The machine on my cart that I have not once wanted to replace
I set up the Epson SureColor F170 in an afternoon with no background in printing. Fourteen months and a lot of blanks later, it is still the only sublimation printer in this house.
Amazon Check Today's Price on Amazon →Before Step 1, gather three things and skip the fourth. Get a sturdy table, a window you can open with a small box fan, and a pack of sublimation paper. Skip the pretty stack of blanks. I use A-SUB 8.5 x 11, 110 sheets, first bought in October 2025 and reordered several times since. For your first print, use one shirt in a light color you do not love, because that first sheet is a test, not a gift.
Step 1: Choose the Spot Before You Lift the Printer
The printer weighs 16 pounds, which is light enough for me to carry alone and awkward enough that I did not want to move it twice. Its footprint is 13.7 inches deep, 14.8 inches wide and 7.4 inches tall, so measure your table before you commit. Mine sits on a small cart beside the six-foot table Ray built, at a height where I am not bending over, with a few inches of clearance behind it for cords and the paper path. I laid a tape measure across the cart first and wrote the three numbers on a sticky note, because I have bought a table before that was two inches too narrow and I was not doing that again.
Ventilation is not optional. The transfer process puts off a smell you do not want to breathe in a closed room, which is why my craft room is the spare bedroom with a window I open every single session and a box fan aimed across the gap. Heat safety matters just as much, and it is the part I would put in bold if I could. The press will burn you in a second, so kids and pets stay out of the room while it is on. Pepper, our gray tabby, is shut out with the door closed. I never leave the press or the printer running unattended, not even to answer the front door.
Ray moved that cart three times before we agreed on a spot. First it sat right under the window and the sash would not open past it. Then it was too far from the outlet and I was running an extension cord across the rug, which is a trip hazard in a room with a hot press in it. The third try stuck: cart on the left, window on the right, both cords routed behind the furniture where nobody walks in the dark.
Then open the box. Inside you should find the printer, a full set of Epson sublimation inks, the 150-sheet auto-feed tray and the start-up guide. Read the guide before you plug anything in. I am the person who ignores instructions and then wonders why a thing does not work, and this is one machine I would not skip ahead on. I opened mine on a Saturday morning, laid the paperwork flat on the table, and read the whole thing through once with a pencil in my hand before I touched a single cord.
Step 2: Fill the Ink the Way the Bottles Are Built to Be Filled
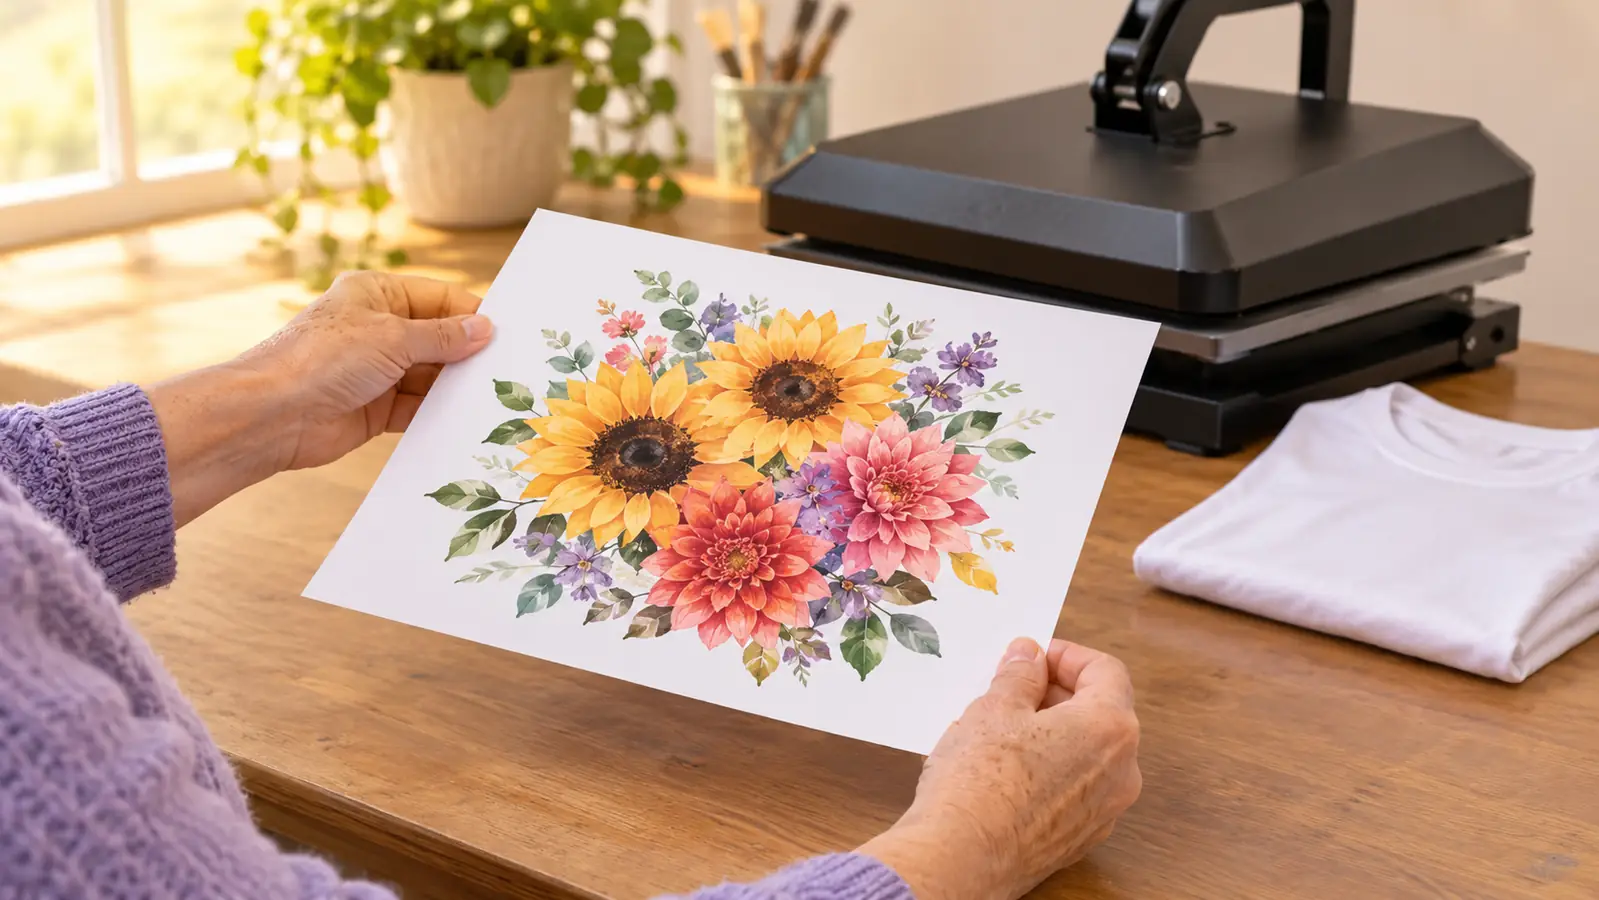
The F170 uses Epson T49 sublimation ink and it arrives with a full set of bottles. The bottles have auto-stop technology, meaning they fill to a line and then stop on their own. I braced for a disaster, put newspaper down anyway, and did not spill a drop. Tip the bottle, let it do the work, and do not squeeze.
Two things I got wrong. First, I tried to top the tanks past the fill line because more seemed better. It is not. Fill to the line and stop. Second, I filled the tanks and then let the printer sit for three days before printing anything. Run the check pattern the start-up guide describes on the same day you fill. If a color looks streaky, do the cleaning routine the guide lays out and check again. Mine needed two rounds before the pattern came out even.
That first fill took me about twenty minutes because I kept stopping to look at the line from a different angle. I wrote the date on the wall calendar afterward, mostly so future me would have something to compare against, and twelve months on that pencil note is how I know what a normal tank level looks like after a month of shirts and totes. If a color drops faster than the others, that is worth noticing early rather than when a transfer comes out pale.
The inks are certified ECO PASSPORT by OEKO-TEX. That detail was on the listing and I skimmed past it, then went back and read it properly once I was pressing shirts for a seven-year-old. Worth knowing before you buy rather than after.
Step 3: Load the Paper Right Side Up, Because This Is Where I Lost a Week
Sublimation paper is not copy paper. Only one face takes the ink, and if you load it upside down the ink goes onto the wrong side and the transfer comes out faint and blotchy. Follow the maker's directions for which face prints, then mark the wrapper with a pencil arrow so you never have to think about it again. Mine has an arrow and the word PRINT on it in my handwriting.
For my first few weeks I used the sample sheets that came with the printer and one pack of no-name clearance paper from a craft store. That clearance paper bled. Not a little, and not in a way I could blame on my settings. I ruined a handful of blanks before I accepted that it was the paper and not me. When the A-SUB pack arrived, the same file, the same press and the same shirt came out clean on the first try. Cheap paper turned out to be the most expensive thing in this hobby.
The worst night of that stretch was a Tuesday in October, when I had four shirts laid out for the church fall festival and two of them came back with a mottled edge along the bottom third. I blamed the press first, then the file, then myself. As a last resort I printed the same file on one leftover sample sheet and got a clean result, which told me the answer in about ninety seconds. Now I keep one sample sheet in the box as a control and I print on it before I blame anything else.
Load the sheets in the 150-sheet auto-feed tray, fan the stack first so nothing feeds double, and do not overfill it. This is an 8.5 x 11 format machine with resolution up to 5760 x 1440, so a photo with real detail is worth printing. A blurry file stays blurry no matter what you paid for the printer.
Step 4: Connect It and Print One Sheet You Fully Intend to Throw Away
The F170 is network-ready and works with a PC. I set mine up on our home network the way the start-up guide walked me through, and it has held that connection since. One thing to know up front: this is a print-only machine. It does not scan or copy. I did not care, but Ray assumed otherwise, and there is now an ordinary second printer on the shelf underneath it.
Install the driver before you open a design file, then print a page you do not care about. A simple image with bold shapes and a line of text is a better test than a photo, because you can see at a glance whether the print is faint, streaky or shifted. Write the date on the back and keep it in a folder. When something goes sideways in March, that sheet is the proof the machine was fine in November.
One piece of advice I did not come up with myself: a woman in our church craft group who has been printing far longer than I have told me to stop letting two programs manage color at once and let the printer handle it. I followed her lead, and I stopped chasing color shifts that were my own fault.
Step 5: Print Your First Transfer and Press It, Mirror Image and All
Print the design mirrored. This is the step that catches beginners, and it caught me. A sublimation transfer is pressed face down, so whatever is on your screen has to be flipped before it prints or the shirt reads backwards. Every design program hides that setting in a different place. Find it once, write it on a sticky note, and stick the note to the printer. Mine is still there, curling at the corner.
My first real press was a tote bag, not a shirt, because a tote lies flat and forgives a wobble and I could not ruin the shape of it. I ran a scrap first, then the tote. It came out even across the middle with a faint shadow in the top left corner where the plate had not warmed all the way through. Two more scrap presses and that shadow was gone, which taught me to give the press time before I give it a blank.
I press on a Fancierstudio 15 x 15 clamshell I bought in April 2025, on a heat-resistant mat on Ray's table. Start with the blank maker's recommended time and temperature, run a test on a scrap, and do not creep upward because you are impatient. Too much heat for too long will scorch polyester and leave a brown shadow that never comes out. My first tote has one, and I still use it to hold scraps.
Lay the transfer face down, tape the corners if it wants to slide, cover it with a sheet of protective paper, close the press and let the timer do its job. Peel warm or cool, whichever your paper and blank maker specify, and pull steadily from one corner instead of tugging. If the ink looks light, check your pressure before you add heat. Nearly everything I blamed on temperature turned out to be pressure.
The clearance paper bled, the tote scorched, the tumbler ghosted. Not one of those was the printer. It was me skipping a test I did not think I needed.
What Else Helps
Keep a notebook. Not a spreadsheet, not an app. A cheap spiral notebook where you write the blank, the paper, the press temperature, the time and how it came out. Fourteen months in, that notebook is the only reason I can repeat a good result instead of hunting for it.
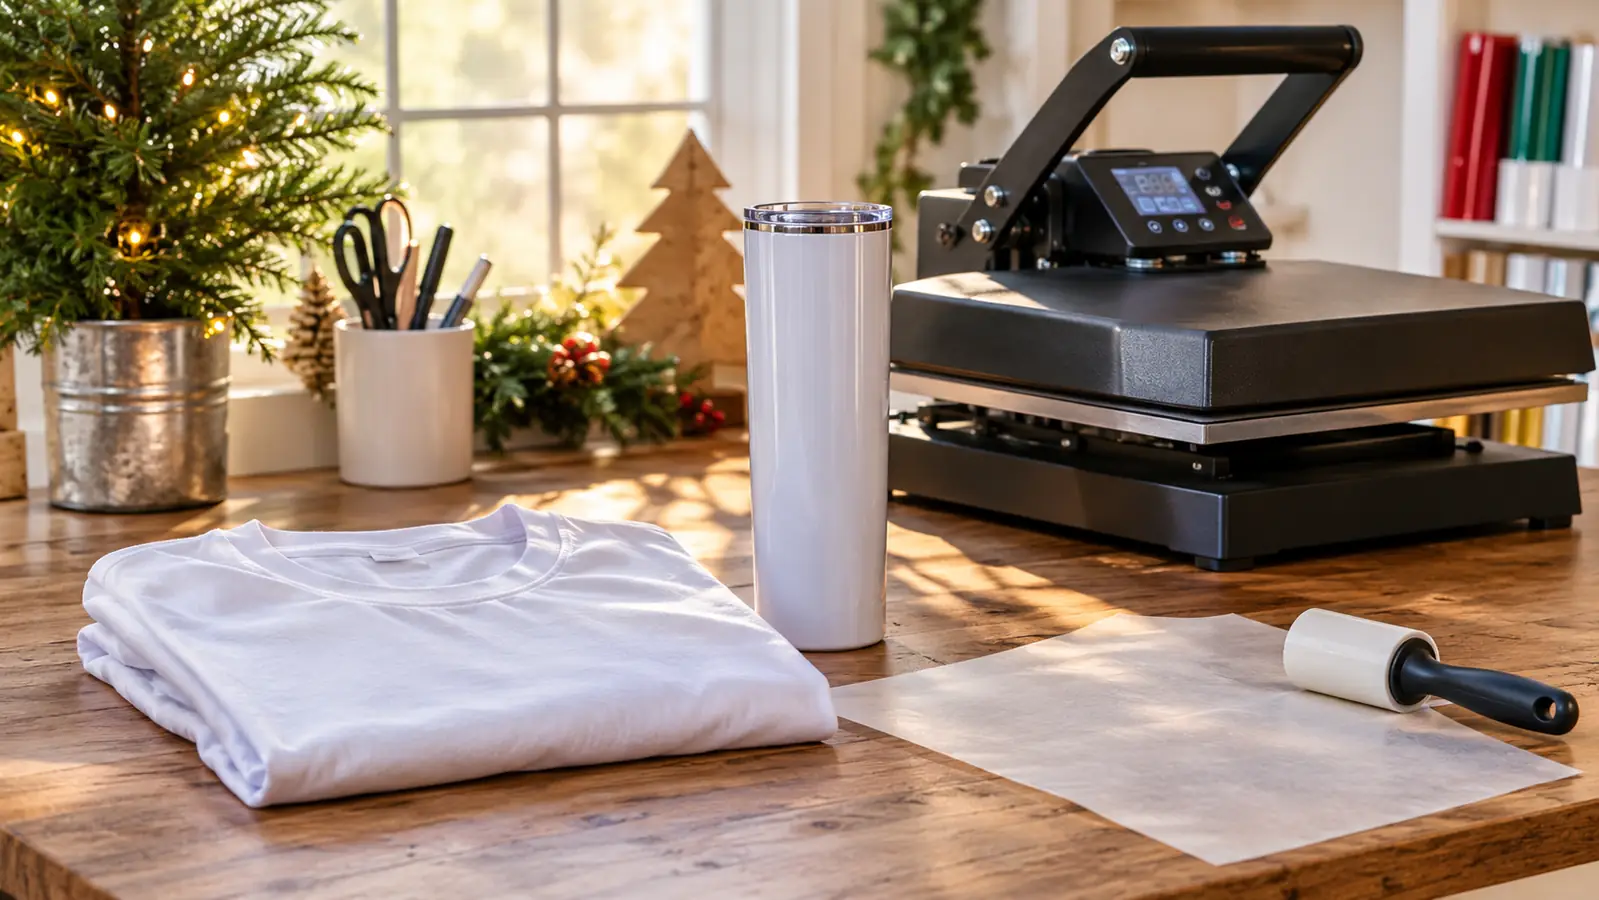
Beyond that: protective paper over every press, a lint roller for shirts because one stray fiber becomes a permanent pale spot, heat-resistant tape, and one ruined blank of each type kept as a comparison. Add a power strip you can reach without crawling under the table, because you will be switching things off and on more than you expect.
The last thing is the least fun and the most important. Ventilate every session, keep the door closed to kids and pets while the press is hot, and shut the equipment down when you are finished. My press made me nervous for about a month, and then it stopped making me nervous, which is exactly when I started leaving it on while I walked out to check the mail. Do not do that. Turn it off.
Fourteen months, one printer, no plan to replace it
The Epson SureColor F170 took me from peeled vinyl letters to transfers I am not embarrassed to hand to somebody. If you are claiming a corner of a spare room, start here.
Amazon See Today's Price on Amazon →